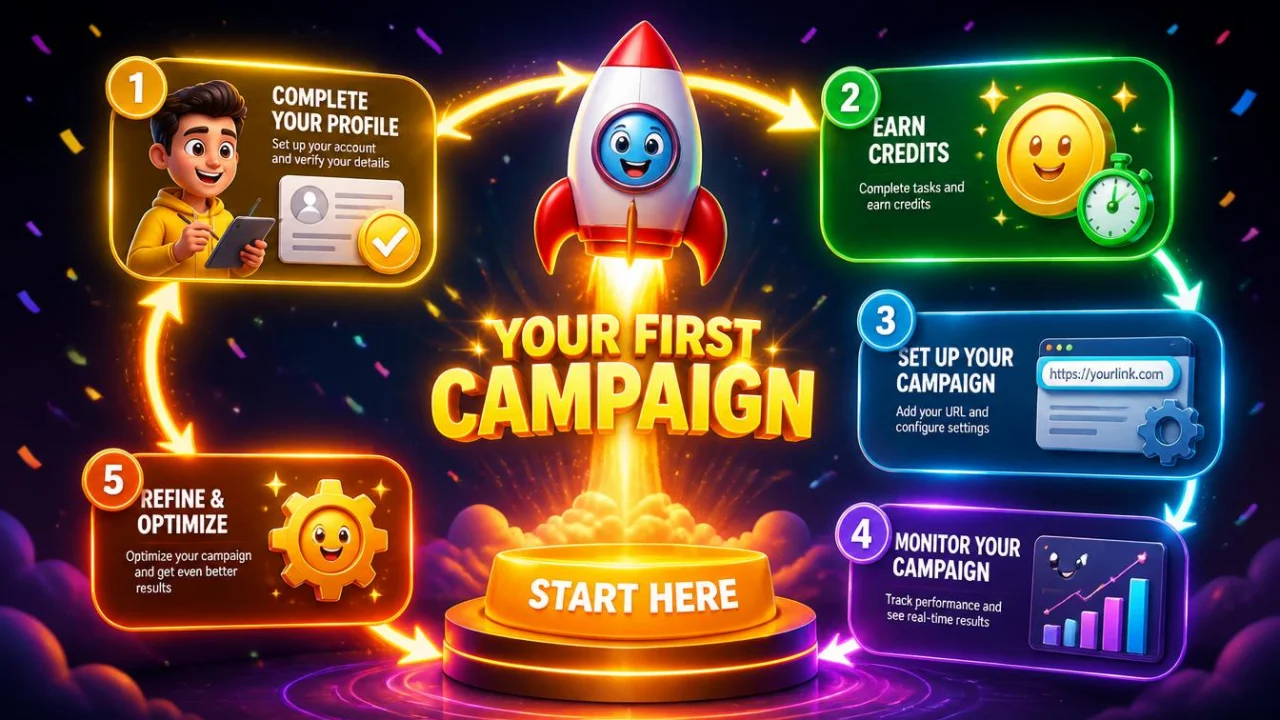
Getting Started with AutoWebSurf: Setting Up Your First Campaign
Welcome to AutoWebSurf. Whether you're a website owner looking to improve engagement metrics, a blogger trying to gain initial traction, or a video creator wanting more eyes on your content — this guide will get you up and running quickly.
Here's how to set up your first campaign and make the most of the community from day one.
Step 1: Complete Your Profile
After registering, take a few minutes to complete your member profile. A complete profile helps the community understand who you are and builds trust.
Fill in your website or channel information, set your preferences, and familiarise yourself with the dashboard layout before diving into campaigns.
Step 2: Start Earning Promotion Credits
Before you can promote your own content, you'll need promotion credits. The easiest way to earn them is by browsing the community — visiting other members' websites and videos using the AutoWebSurf viewer.
How to browse the community:
- Open the viewer from your dashboard
- The viewer will automatically load community members' websites
- Stay on each page for the full timer duration to earn your credits
- The longer you browse, the more credits you accumulate
Start with a 30–60 minute browsing session to build up an initial credit balance. This also gives you a good feel for how the community works from a visitor's perspective — which helps you optimise your own campaigns.
Step 3: Add Your First URL
Once you have credits, it's time to add your website or video.
Navigate to your campaign dashboard and click "Add New Campaign." You'll be asked to enter your URL — this can be a website page, a blog post, or a YouTube video link.
Key settings to configure:
View Timer — How long you want visitors to stay on your page. For a blog post, 120–180 seconds is a good starting point. For a detailed guide or product page, 240–300 seconds. For YouTube videos, set this to match a meaningful portion of your video length.
Max Views Per Hour — How many visits you want to receive each hour. Start conservatively — 10–20 per hour is a natural-looking pace for a new page. You can increase this as your campaign progresses.
Referrer Source — Where you want visits to appear as coming from in your analytics. Options include direct, Google, Facebook, Twitter, and others. Choose the source that best fits your promotion strategy.
Geo-Targeting — If your content is targeted at a specific country or region, set your geo-targeting to match. A local business blog performs better with local engagement signals.
Step 4: Monitor Your Campaign
Check your campaign dashboard regularly in the first few days. Key metrics to watch:
- Credits spent — How quickly are your credits being used?
- Views delivered — How many real visits has your campaign generated?
- Time on page — Are visitors staying for the full timer duration?
After 5–7 days, open Google Analytics and look at your site's engagement data. You should see improvements in average session duration and pages per session as real visitors interact with your content.
Step 5: Optimise Based on Results
Your first campaign is as much about learning as it is about results. After your initial run, review what happened and adjust.
Did visitors stay for the full timer? If not, consider whether your opening content is engaging enough. Are credits running out too quickly? Reduce your max views per hour. Are you happy with the referrer source showing in your analytics? Adjust it to better reflect your marketing mix.
Each campaign teaches you more about how to configure the next one more effectively.
Tips for Best Results
Combine with good content — Community visits work best on pages that are genuinely useful. Real visitors interacting with quality content produce the strongest engagement signals.
Don't scale too fast — A sudden surge in visits on a brand-new page looks unnatural. Start with modest daily volumes and increase gradually over 2–3 weeks.
Use internal links — Make sure your promoted pages link naturally to other pages on your site. This encourages visitors to explore further, improving your pages-per-session metric.
Refresh content regularly — If you're promoting an older page, update its content before running a new campaign. Fresh content keeps visitors engaged and gives Google a reason to re-evaluate the page.
Earn as you spend — Keep the viewer running while you work so you're continuously earning credits. This keeps your campaigns funded without needing to pause.